![An enterprise website migration guide [updated]](https://productiveshop.com/wp-content/uploads/2022/08/An-enterprise-website-migration-guide-updated-large-2-e1671614829663.png.webp)
Prior to and post-launch there are basic procedural steps that the development, QA, SEO, content and design teams have to run through to ensure for basic web hygiene when it comes to migrating a website.
I’ve put together a complete guide based on our enterprise web builds to ensure that you run a successful website migration project.
You’re here because one of the below scenarios is probably impacting your team. The triggers for an enterprise site migration are:
- Rebranding and new positioning initiative that results in a new website build
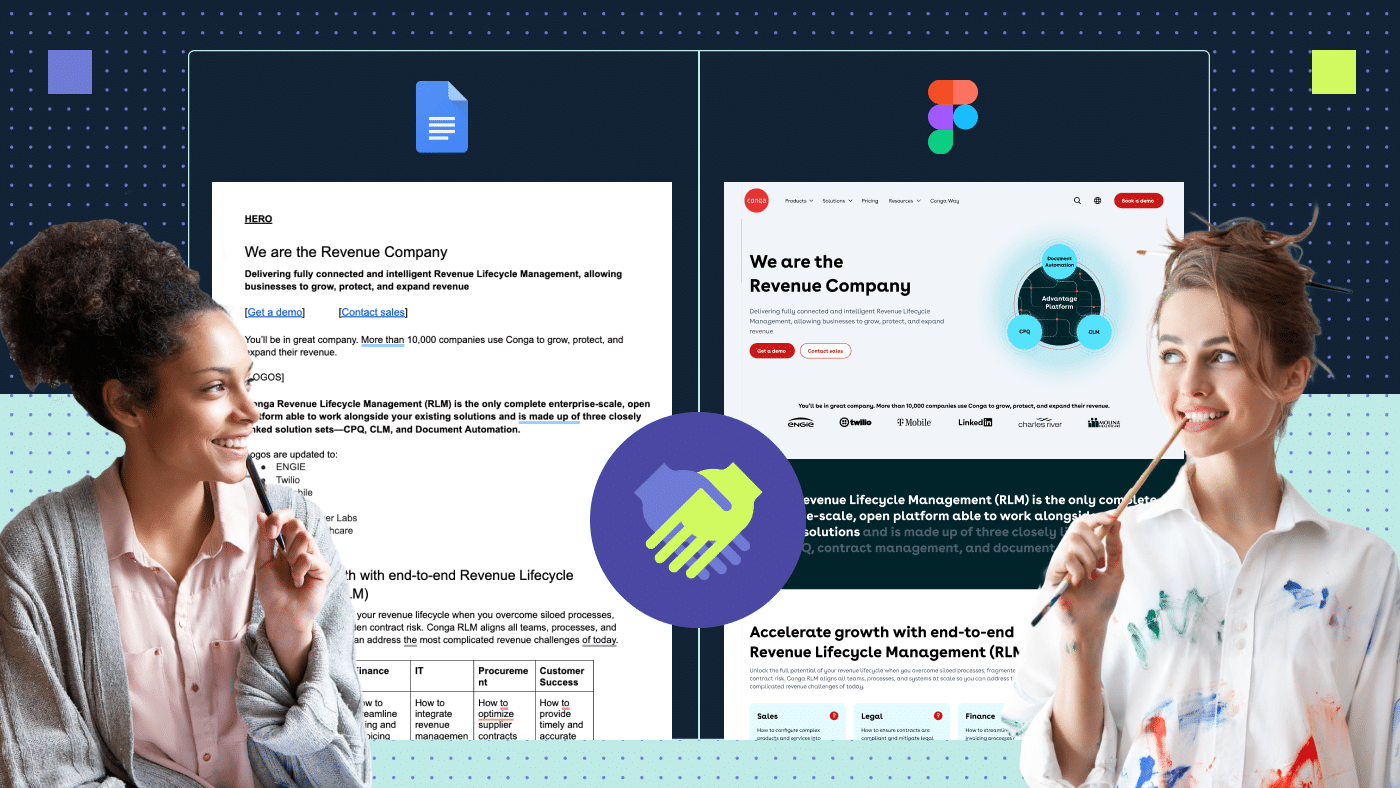
- Complete site CMS move such as from WebFlow to WordPress or WordPress to Contentful etc.
- Specific content hub move — for example, if you’re using WordPress for blogs and now you moved to a DXP system or a headless CMS for content creation (typically done by publishers/companies focused on mass content output).
What is site migration?
Migration is the process of moving data from one place to another. In the case of a website, it would be to move all data from one content management system (CMS) to another. For example,
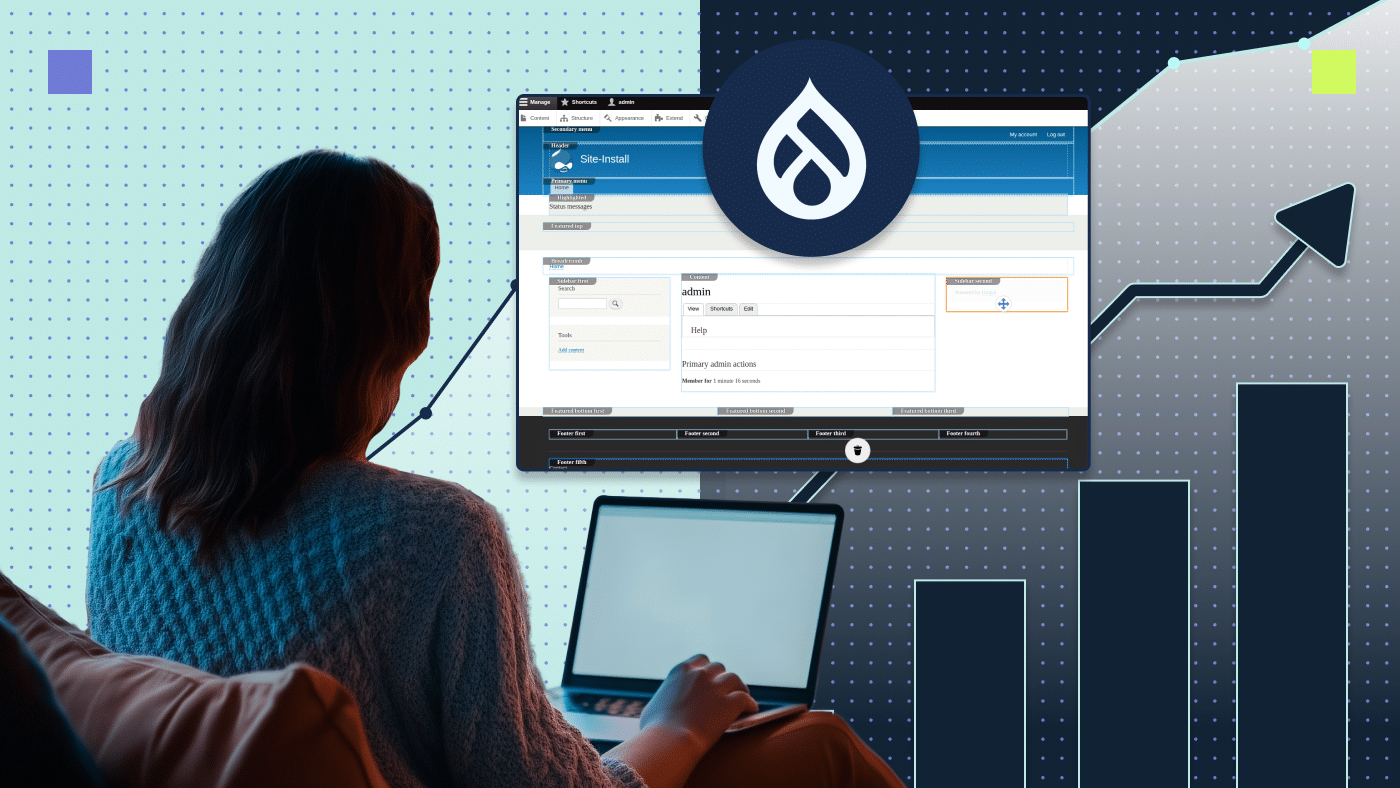
- From Drupal to WordPress
- From WordPress to Contentful
- From one WordPress template to another WordPress template
Before we start, ensure that you’ve got the following documents and tools ready to populate (or take a note to crated them) and actively use before, during and after your project:
- RACI to detail out roles and responsibilities
- Visual plan and WBS in form of a Gantt chart or Google Sheet representing a visual migration schedule
- Migration map in form of a Google Sheet for current vs future state URL mapping
- x2 technical SEO tools such as SiteBulb or NetPeak Spider
- Google Search Console (GSC), which you have ownership access to
Start with mapping all of your high-value content
Extra attention needs to be spent on identifying all of the highest performing pieces of content and ensuring that a “gap” does not exist in a period of time when migrating the site. Those pieces of content need to be mapped out into a Google Sheet by type and highest organic traffic, and, any pieces of content actively being pointed to by paid campaigns. The common types of content are:
- Web pages
- Blog posts
- Solution briefs
- White paper landing pages (and the gated PDFs behind them)
- Data sheets
- Case study
- Webinars (don’t forget on-demand ones as well)
- Events
- Press releases
When building the spreadsheet to map the above assets, the critical columns you should have are the following:
- Type of content (this will help you logically group critical content)
- Current URL. Example: https://productiveshop.com/how-to-use-webp-for-seo-in-2022/
- Future URL (what will be the future URL? Typically this is a consideration when changing the URL structure of the website). For example:
- https://productiveshop.com/resources/blogs/how-to-use-webp-images-for-seo-in-2022/
- Note that by having a future URL will force you into the question of redirect types, so that you don’t forget it (see below).
- Staging site URL (this will help you test the pages prior to live)
- Redirect type (if you are changing your URL structure, you will need to identify and map what type of redirects to place – this is one of the most important activities you need to do and spend time thinking of prior to migration, not to tank your page rankings)
- Current organic traffic (to ensure you have not forgotten to move the highest priority pieces that drive you traffic)
- # of harvested keywords (just like organic traffic #, this is another basic metric to verify for page importance)
- Language version (to identify the same template, but different language versions)
Note for go live: Use Yoast Premium or Redirection plugin (if on WordPress) to map all redirections at go live.
Pay close attention to contact forms
When moving a site, teams typically move their CRM or decide to create cleaner CRM form practices by segmenting them by logical groups of forms. For instance:
- Footer form
- Main demo signup form
- Whitepaper forms (and the PDFs they serve on submission)
- Events form (and the PDFs they serve on submission)
- Contact us form
- Newsletter subscription form
- For all forms that do not return a reward asset, ensure to have a “thank you” page
It’s important to test all form entries BEFORE the site goes live (that the CRM is capturing them) and AFTER the site goes live.
Pay special attention to the most problematic forms (because teams often forget to migrate the content BEHIND that landing page that needs to get served to the user when they submit the form):
- Whitepaper landing pages
- Gated webinars
- Event signups
Use Google Search Console (GSC) for technical validation
No matter how much you prepare for a go live, the 8 weeks post-live will be full of “we didn’t consider that” moments if it’s a large site. To help with the most critical aspects of site performance, use Google Search Console to understand pre and post-launch search traffic and experience numbers.
- Before going live, ensure you are keeping the same version of the URL prefix, so https://productiveshop.com/ should not be https://productiveshop.com/. If you did decide to switch over, ensure your Google Analytics and Google Search Console settings are updated in order to avoid inaccurate reporting, and you update your root domain redirects.
- In GSC, pay attention to all modules under the “Experience” section. Within 8 weeks of going live, all of these metrics should be well above 85%, especially mobile usability:
- Page experience
- Core web vitals
- Mobile usability
Build a website migration checklist and do a thorough walkthrough with the team
- Ensure the correct Robots.txt is on the site.
- Ensure Google Tag Manager or Analytics codes are embedded into the head of the site and you have validating they are firing off.
- Ensure CRM codes are embedded into the site (or in GTM).
- Ensure forms are connected to the CRM and submissions are being captured. You can test this from the staging environment.
- Ensure all existing URLs driving high organic traffic and conversions have been mapped out prior to going live. And after going live, test the whole list to ensure they are redirected correctly.
- Purchase and install Yoast Premium to manage redirections and meta tag settings. Ensure to update your metas before go live and verify that the correct metas are being pulled post live.
- Ensure all critical webpages have schemas (webpage, article, blog, FAQ etc).
- Ensure WebP images are enabled before go live.
- Ensure AMP pages are usable before go live.
- Ensure the mega navigation menu shows up in mobile view before go live (silly but often overlooked).
- If there is a search bar on the site and/or resource center, ensure to test the output/search results. Should they be sitewide or contextual to the area you are searching in?
- Ensure penetration testing (if you custom build anything on the front or back end).
- After go live, utilize GSC to check for critical technical issues (note that sometimes it might take up to 30 days or so for the new site to be indexed).
- In case GSC isn’t catching issues, right after go live utilize a tool like NetPeak spider to check for common problems such as broken links, heavy load times, https status issues.
- After go live, use Lighthouse to check every page that is visible to the user via the main navigation and footer (check both mobile and desktop).
- Immediately after go live, open crawling to the new site, close crawling to the old site.
Project migration RACI template table
| Activity | PM | SEO | ART | DEV | QA | Copy |
|---|---|---|---|---|---|---|
| Build a work-forward sprint-based Gantt | R/A | C/I | C/I | C/I | C/I | C/I |
| Review the visual of the new site structure | R | A | C/I | C/I | C/I | C/I |
| Map all current vs new page URLs | C/I | R/A | C/I | A | ||
| Map all gated and non-gated assets (ex: videos, PDFs) | C/I | R | A | |||
| Design new pages based on brand book and mood boards | C/I | C/I | R/A | C/I | I | R |
| Build new components and page templates | C/I | I | I | R/A | C/I | I |
| Verify for correct and create new meta tags | I | R | C/I | A | ||
| Fill pages with content | C/I | C/I | R | C/I | A | R |
| Build and verify new XML sitemap | I | R | C/I | A | ||
| Setup 302 and 301 redirects | I | R | C/I | A | ||
| Open crawling to the new site, close for the old site | I | C/I | R | A | ||
| Monitor for 404 and 410 errors | C/I | R/A | C | |||
| Ensure the old environment is accessible via subdomain | C/I | I | R/A | |||
| Test analytics pre and post-live | C/I | R/A | C/I | |||
| Check broken internal links | I | R/A | I | C/I |
In case you need to know what RACI stands for:
- Responsible: who needs to execute on this?
- Accountable: who is accountable for its final delivery?
- Communicated: who needs to be liaised/consulted with for active feedback?
- Informed: who needs to stay informed of progress?
Forgetting to secure a healthy warranty period
A web project warranty period is a post-project service-level agreement (SLA) between a web development team and its client. The web development team (internal or external) agrees to provide support and maintenance for the web project for a certain period of time after the web project is completed.
The warranty period is typically three months, but it can be longer or shorter depending on the agreement between the parties.
The purpose of a web project warranty period is to give the client peace of mind that they will not be left stranded if something goes wrong with the web project after it is completed. It also gives the web development company an opportunity to address any issues that may arise after the project is completed.
The web development company will usually provide a limited number of free support hours during the warranty period. After that, the client will be responsible for paying for any additional support hours. Watchout for scope creep here as warranty is for fixes only, not nice-to-have additions.
The web project warranty period is an important part of insuring against risks associated with web projects. It should be included in every web development contract.
Not recrawling the site with multiple tools (not just your favorite)
Once your website goes live, it’s important to recrawl the site to make sure everything is working properly. This is especially important if you’ve made any changes to the site since the last crawl. Crawling helps to find issues that could impact your SEO, such as broken links, hreflang issues, duplicate content, render blocking resources, and missing titles or meta descriptions.
It also helps to identify pages that are not being indexed by Google. Using technical SEO tools to crawl your site post-go live can help ensure that your SEO is not impacted by any technical issues.
Not following up with analytics
Checking Google Analytics after you go live is important for a few reasons:
- It allows you to verify that your analytics code is firing correctly. This is especially important if you’ve made changes to your site’s code or tracking setup.
- It gives you an opportunity to check that all of your site’s traffic is being captured correctly. This is important because even a small error can skew your data.
- Checking analytics after go live lets you catch any technical problems early on so that you can fix them before they cause too much damage.
By taking the time to check your analytics regularly post-live, you can ensure that your data is accurate to enable decision-making on further needed optimizations.
Website migration FAQs
Why invest in a website migration?
Site migration can be a big undertaking, and it’s important to make sure that it’s worth your while before you take the plunge. Here are key benefits you should consider before making your decision:
- A website migration can help improve your website’s search engine optimization (SEO). If your website is currently not ranking as high as you would like in search results, a website migration can be a good way to give your website a boost.
- A website migration can also help improve your website’s loading speed. If your website is slow to load, it can dissuade potential customers from sticking around. By migrating your website to a new host, you can often improve your website’s loading speed.
- A website migration can also give you an opportunity to redesign your website. If your website is looking a little dated, a website migration can be a good way to give it a fresh look. This project can also be a good opportunity to improve your website’s navigation and overall user experience.
- Finally, a website migration can also help you take advantage of new technology. If your website is currently running on an outdated platform, migrating to a new platform can give you access to new features and functionality that can improve your website.
Overall, there are many benefits to migrating a website. However, it’s important to make sure that you are prepared for the website migration process before you begin. Create a website migration plan and set a realistic budget for the website move.
Why create a website migration plan?
A website migration plan is essential for ensuring a smooth transition to a new site. By planning ahead, you can avoid common pitfalls and ensure that your website retains its search engine ranking and traffic.
There are a few key things to keep in mind when planning a website migration:
- Who will be responsible for each task (from every department)?
- What is the timeline for the migration?
- What are the known risks and how can they be mitigated?
Some common high-level steps in website migration include:
- Researching and selecting a new domain name
- Setting up website hosting
- Designing and building the new website
- Migrating content from the old website to the new website
- Testing the new website to ensure everything is working properly
- Launching the new website
- Redirecting traffic from the old website to the new website
Creating a detailed plan (use a visual Gantt chart) for your website migration will help to ensure a successful transition to your new site.
Why does a website migration affect search results?
Website migration can have a significant impact on SEO. There is a number of things that can go wrong during a migration, which can lead to a drop in rankings and traffic. However, if done correctly, a website migration can also increase organic search rankings and traffic.
There are a few common pitfalls that can occur during a website migration (we covered them in detail above):
- Not setting up URL redirects from old pages to new pages.
- Redirecting too many old pages to the home page.
- Not updating sitemaps and robots.txt files.
- Changing URL structures without redirecting old URLs.
- Not setting up canonical tags correctly.
These pitfalls can have a negative impact on SEO. However, by taking the time to plan your website migration carefully and by working with an experienced SEO professional, you can avoid these problems and ensure that your website’s SEO is not adversely affected.